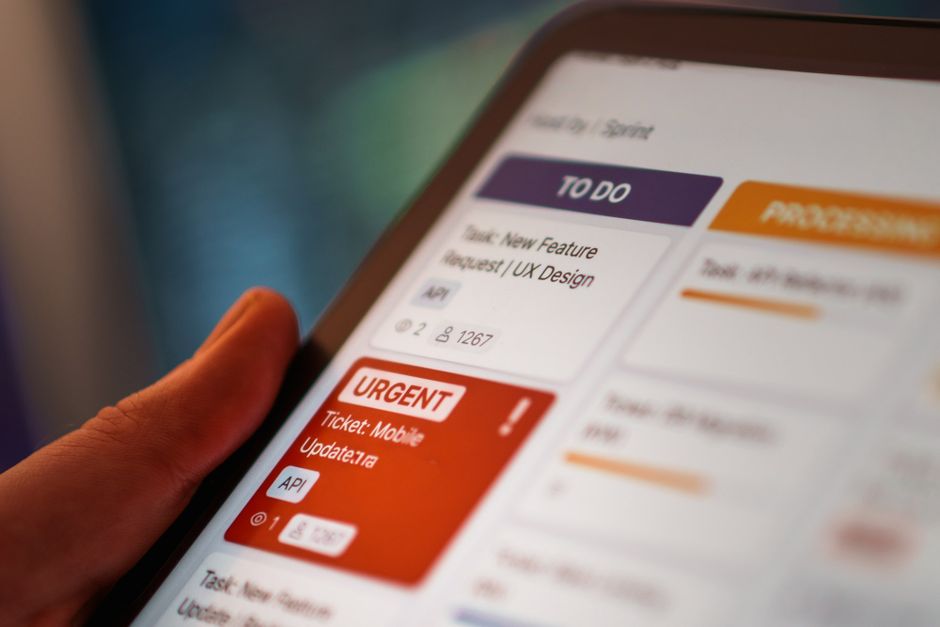
If your Notion workspace is a pile of pages with no structure, a database fixes it in one move: it turns scattered notes into rows you can filter, sort, and view as a board, calendar, or table.
The word “database” sounds like it belongs in a developer meeting. It doesn’t. A Notion database is just a smarter list: the same list you already keep in a page, but with typed columns, buttons, and multiple views. You can build a useful one in about ten minutes, and this guide walks through it step by step.
You will learn what a database actually is, how to create one, how to choose the right property types, how views work, and the beginner mistakes that quietly break setups. Everything here was tested on a fresh Notion workspace on the free plan.
What a database changes about your notes
A normal Notion page is one document. A database is a collection of records that all share the same structure, where every record is itself a page.
Say you track tasks as plain pages. Each one has a title, a status written somewhere in the text, and a due date typed in a paragraph. To find “what is overdue this week” you open every page and read. Now make it a database: each task gets a Status property and a Due date property. You click the Due date column header, sort by date, filter Status to “Not started,” and the answer appears without opening a single page. The same principle applies to notes, projects, contacts, content calendars, and inventory.
The structure is the product. A database forces consistency: every entry has the same fields, and that consistency is what makes filtering, sorting, and automation possible.
Step 1: Create your first database
There are three ways to create a database, and they all take seconds:
- Inline with the slash menu. Type
/databaseanywhere in a page and press Enter. You get a small inline table with one default property (Name) plus a Tag property. - As a full page. In the sidebar, click + New page, type a name, then select Table (or any view) from the database options. This creates a dedicated page whose whole content is the database.
- From a template. Duplicate someone else’s database (including our free Notion task template), and it arrives fully structured with properties and views already set up.
Start with option 1 or 2. The difference matters less than you think: an inline database lives inside a page alongside other content; a full-page database gets its own sidebar entry. You can move a database later or create a linked view of it somewhere else, so don’t overthink the choice.
Step 2: Add properties and choose the right types
In a database, columns are called properties. A property has a type, and the type controls what you can do with that column. This is the single most important concept in Notion, and most beginner frustration comes from picking the wrong type early.
The default database has only Name and Tags. Add a few properties that match what you track. The types you will actually use:
| Property type | What it holds | Use it for |
|---|---|---|
| Text | Any short text | Notes, URLs, serial numbers |
| Select | One option from a list | Status, priority, category |
| Multi-select | Several options from a list | Tags, labels, topics |
| Date | A date, optionally with time | Due dates, deadlines, start dates |
| Checkbox | Yes/no | Done, paid, approved |
| Person | A workspace member | Assignee, owner, reviewer |
| Relation | Entries from another database | Linking tasks to projects |
| Formula | Calculated value | Days until due, effort score |
Two rules of thumb:
- Status should be a Select, not text. If status lives in a text property, you cannot filter reliably: “Done,” “done,” and “DONE " are three different values. A Select property gives you fixed options and color coding. Status is also what makes board views work (see Step 4).
- One fact per property. Don’t write “High - backend” into a text column. Use a Select for priority and a Select or person for the area. Filtering and board grouping only work when values are atomic.
To change a property’s type later, open the column header, click the type name, and pick another. Notion converts the existing values, but conversion is lossy in some cases: plain text becomes a Select option, and numbers stored as text stay text. Get the type right at creation and you avoid cleanup later.
Step 3: Enter rows, each one a page
Click the + New row at the bottom (or press Ctrl+Enter) to add an entry. Type a name. Then, and this is where Notion differs from a spreadsheet, click the row’s name to open the record as a full page. Everything below the properties is a normal Notion page: you can add paragraphs, headings, images, checklists, or sub-pages.
This hybrid nature is the reason databases scale so well. The table row holds the structured facts; the opened page holds the messy details. Your “Meeting notes” database can have a Date and Attendees property for sorting, while each entry contains the actual notes, action items, and files. The structure stays clean and the context is one click away.
Step 4: Views, same data, different windows
A view is a saved way of looking at the database: a layout plus a filter and a sort. The data never moves or duplicates when you switch views. This confuses almost every beginner, so it’s worth repeating: views are windows, not copies.
Notion ships six layouts. Click the + next to the view tabs at the top of your database to add any of them:
- Table: the default; rows and columns like a spreadsheet.
- Board: columns grouped by a Select property (usually Status). Drag a card between columns to change its status.
- Calendar: entries positioned by a Date property.
- List: compact rows, good for scanning.
- Gallery: card previews with cover images.
- Timeline: entries on a date axis, useful for planning.
You typically want at least two views on a task database: a table for data entry and a board for working through statuses. Both show the exact same records.
Views are also where filtering lives. Add a filter to a view to hide rows (“Status is In progress”), add a sort (“Due date ascending”), and name the view “This week.” You now have a dashboard that updates itself as you add data, with no manual maintenance.
Step 5: Connect databases with Relation and Rollup
The feature that makes Notion databases more than fancy tables is the relation: a property that points at entries in another database.
The classic example: Tasks and Projects. Instead of typing the project name into every task (which drifts out of date the moment you rename the project), add a Relation property to your Tasks database and point it at Projects. Each task now links to its project, and here is the payoff: the Projects database gets a rollup property that counts or lists the tasks linked to each project. Rename the project once and every task updates automatically.
To build it: create the second database first (Projects), then in Tasks add a property, choose Relation, and select Projects as the target. On the Projects side, add a Rollup property, point it at the relation, and choose to count tasks or show their names. Two minutes of setup removes an entire class of manual upkeep.
If you want the full workflow (statuses, priorities, filters, weekly reviews), the Notion task system guide builds exactly that on top of the basics in this article.
The 10-minute starter database: a personal task tracker
Time to apply it. Create a new page called “Tasks” (or duplicate the free Notion task template if you want a finished version). Add these properties:
- Status: Select (options: Not started, In progress, Done).
- Priority: Select (options: Low, Medium, High).
- Due date: Date.
- Project: Relation to a Projects database (optional for week one).
Then add a second view as a board, grouped by Status. Drag a task from “Not started” to “In progress” as you start it; drag it to “Done” when finished. That single interaction (dragging cards between columns instead of editing text) is the habit that makes the system stick.
Total time: about ten minutes. You now have a task list that sorts itself, filters by priority, shows overdue items automatically, and can grow a calendar view the moment you add deadlines.
5 beginner mistakes that break Notion databases
These are the errors I see most often in real workspaces, and all of them are easy to avoid once you know they exist.
-
Choosing the wrong property type from the start. Status as free text is the classic. Fix it at creation: Select for anything with a fixed set of values, Date for dates, Checkbox for yes/no. Converting later is possible but messy.
-
Deleting a view and thinking the data is gone. A view is only a saved filter and layout. Deleting a board view does not delete a single record, but it looks like it did, and panicked beginners sometimes delete the whole database next. If data seems missing, check whether a filter is hiding it before you delete anything.
-
Typing the same value into many rows instead of using a Select or Relation. When “Backend” appears in fifteen tasks as free text, a rename means editing fifteen rows. As a Select option or a relation, it means one edit.
-
Storing duplicate information across databases. Project names typed into tasks, client names typed into projects: every duplicate is a future inconsistency. Link with relations and let rollups display the connected data instead.
-
Building one giant database for everything. A 40-property database with tasks, notes, and contacts mixed together becomes unmanageable. Keep databases single-purpose (one for tasks, one for projects, one for notes), and use relations and linked views to combine them where needed. If you plan to sync tasks with other tools, our Zapier and Notion workflows guide shows how automation connects to these databases.
Once a database uses related properties, the next thing to break is usually a rollup. The fixes are in our Notion rollup not working guide.
FAQ
Is a Notion database the same as a spreadsheet? Not quite. A spreadsheet stores values in cells; a Notion database stores records (rows) where each record is also a page you can open and fill with anything: text, images, sub-pages, even other databases. Properties behave like columns, but they are typed (date, person, select, relation), and the same data can be displayed as a table, board, calendar, list, gallery, or timeline without moving anything.
Can I turn existing pages into a database? There is no one-click “convert to database” button. If your pages already follow the same structure, create a database with matching properties, then cut and paste each page’s content into a new database entry, or duplicate the pages inside the database and fill in the properties. For anything longer than a handful of pages, it is faster to rebuild the structure as a database first and paste content in afterwards.
If I delete a view, do I lose data? No. A view is just a saved window onto the database: a filter, sort, and layout combination. The records live in the database itself, not in the view. Delete a view and every entry stays. The one thing that does delete data permanently is emptying the database’s trash, so use that with care.
Are Notion databases free? Yes. The free plan includes unlimited pages and blocks for personal use, and databases are not a paid feature (see the Notion pricing page). Paid plans add collaboration permissions, version history for workspaces, and AI features, not the core database functions covered in this guide. If you run into sync trouble after setting everything up, the Notion sync error fix covers the most common causes.
Where to go from here
You now have the mental model that most Notion users never quite get: databases are typed lists, records are pages, views are windows, and relations are what make everything connect. Start with one small database (a task tracker or a reading list) and use it for real work for a week. The official Notion Help Center is a reliable reference when you want to go deeper, and the free Notion task template gives you a ready-made structure to experiment with. Databases are the feature that turns Notion from a notebook into a system. This first one is the hardest part, and you just built it.